在当今微服务架构盛行的时代,接口作为系统间通信的桥梁,其质量直接影响着整个应用的稳定性。本文将全面剖析Java接口测试的完整知识体系,带您从零基础到高级实践,掌握接口测试的核心要领。
一、Java接口测试基础概念
接口测试本质上是通过模拟客户端请求来验证服务端响应是否符合预期的过程。与UI测试不同,它直接验证业务逻辑层,具有执行效率高、维护成本低的优势。在Java生态中,我们通常需要测试三种接口类型:
- HTTP RESTful API
- RPC接口(如Dubbo)
- WebService接口
二、主流Java接口测试工具对比
1. JUnit + RestAssured组合
RestAssured是专门为REST API测试设计的DSL,与JUnit结合使用可以写出极具可读性的测试代码:
@Test
public void testGetUser() {
    given()
        .param("userId", "123")
    .when()
        .get("/api/users")
    .then()
        .statusCode(200)
        .body("name", equalTo("张三"));
}
2. Spring Boot Test + MockMVC
对于Spring项目,MockMVC提供了完整的集成测试方案:
@SpringBootTest
@AutoConfigureMockMvc
class UserControllerTest {
    @Autowired
    private MockMvc mockMvc;

    @Test
    void shouldReturnUser() throws Exception {
        mockMvc.perform(get("/api/users/123")
               .accept(MediaType.APPLICATION_JSON))
               .andExpect(status().isOk())
               .andExpect(jsonPath("$.name").value("张三"));
    }
}
3. TestNG + HttpClient
TestNG提供了更丰富的测试组织方式,配合Apache HttpClient适合复杂场景:
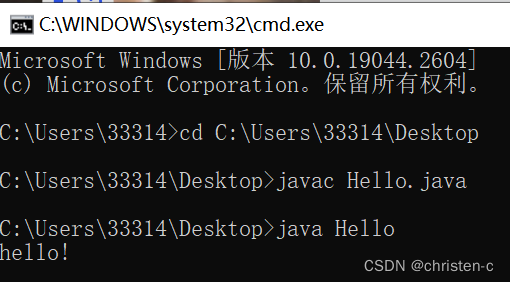
@Test
public void testPostOrder() throws IOException {
    CloseableHttpClient client = HttpClients.createDefault();
    HttpPost post = new HttpPost("http://api.example.com/orders");
    post.setEntity(new StringEntity("{...}", ContentType.APPLICATION_JSON));

    try (CloseableHttpResponse response = client.execute(post)) {
        assertEquals(201, response.getStatusLine().getStatusCode());
        String body = EntityUtils.toString(response.getEntity());
        assertTrue(body.contains("orderId"));
    }
}
三、高级测试策略与实践
1. 契约测试(Pact)
使用Pact实现消费者驱动的契约测试,确保服务提供方和消费方的兼容性:
@Pact(consumer="UserServiceClient")
public RequestResponsePact createPact(PactDslWithProvider builder) {
    return builder
        .given("user exists")
        .uponReceiving("get user request")
            .path("/users/123")
            .method("GET")
        .willRespondWith()
            .status(200)
            .body(new PactDslJsonBody()
                .stringType("name", "张三")
                .integerType("age", 30))
        .toPact();
}
2. 性能测试集成
结合JMeter进行性能测试,通过JavaSamplerClient实现代码化:
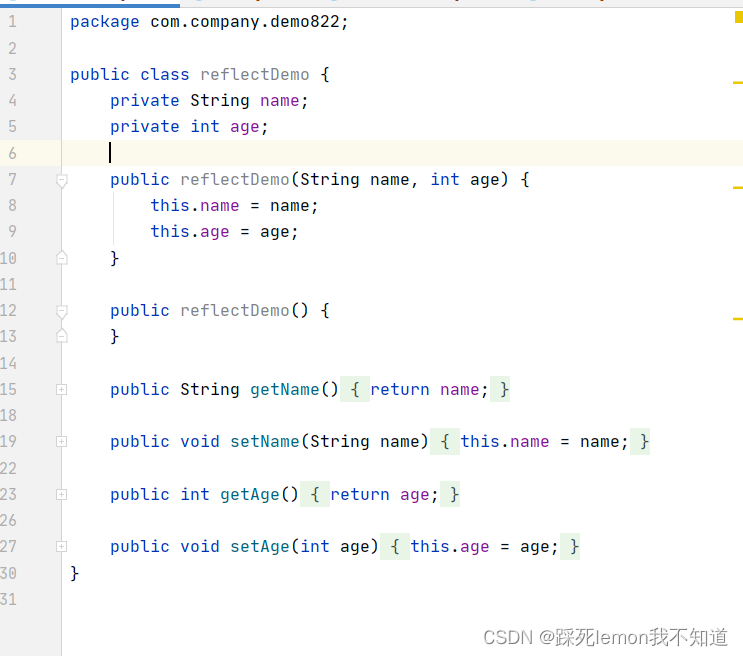
public class OrderAPITest extends AbstractJavaSamplerClient {
    @Override
    public SampleResult runTest(JavaSamplerContext context) {
        SampleResult result = new SampleResult();
        result.sampleStart();

        // 执行测试逻辑
        int statusCode = callOrderAPI();

        result.sampleEnd();
        result.setSuccessful(statusCode == 200);
        return result;
    }
}
四、持续集成中的接口测试
在CI/CD流水线中集成接口测试的推荐方案:
- Maven配置示例:
<plugin>
    <groupId>org.apache.maven.plugins</groupId>
    <artifactId>maven-surefire-plugin</artifactId>
    <configuration>
        <includes>
            <include>**/*Test.java</include>
            <include>**/*IT.java</include>
        </includes>
    </configuration>
</plugin>
- Jenkins Pipeline集成:
pipeline {
    agent any
    stages {
        stage('Test') {
            steps {
                sh 'mvn test'
                junit 'target/surefire-reports/**/*.xml'
            }
        }
    }
}
五、常见问题与解决方案
- 异步接口测试:使用Awaitility处理异步响应
await().atMost(5, SECONDS)
       .until(() -> get("/async/status").statusCode() == 200);
- 文件上传测试:
given()
    .multiPart("file", new File("test.txt"))
.when()
    .post("/upload")
.then()
    .statusCode(200);
- OAuth2认证测试:
given()
    .auth().oauth2(getAccessToken())
.when()
    .get("/secure/api")
.then()
    .statusCode(200);
通过本文的系统学习,您应该已经掌握了Java接口测试的核心技术栈。记住,好的接口测试应该具备:明确的断言、完善的覆盖率、清晰的报告和快速的反馈。建议结合具体项目需求,选择最适合的工具组合,并持续优化测试用例。
版权声明
本文仅代表作者观点,不代表百度立场。
本文系作者授权百度百家发表,未经许可,不得转载。


